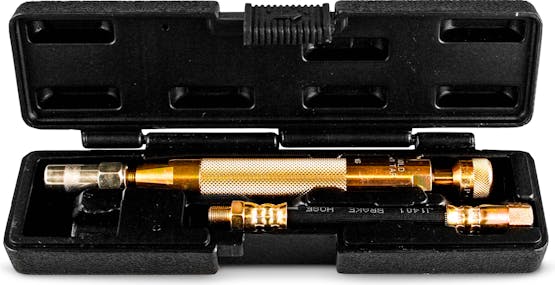
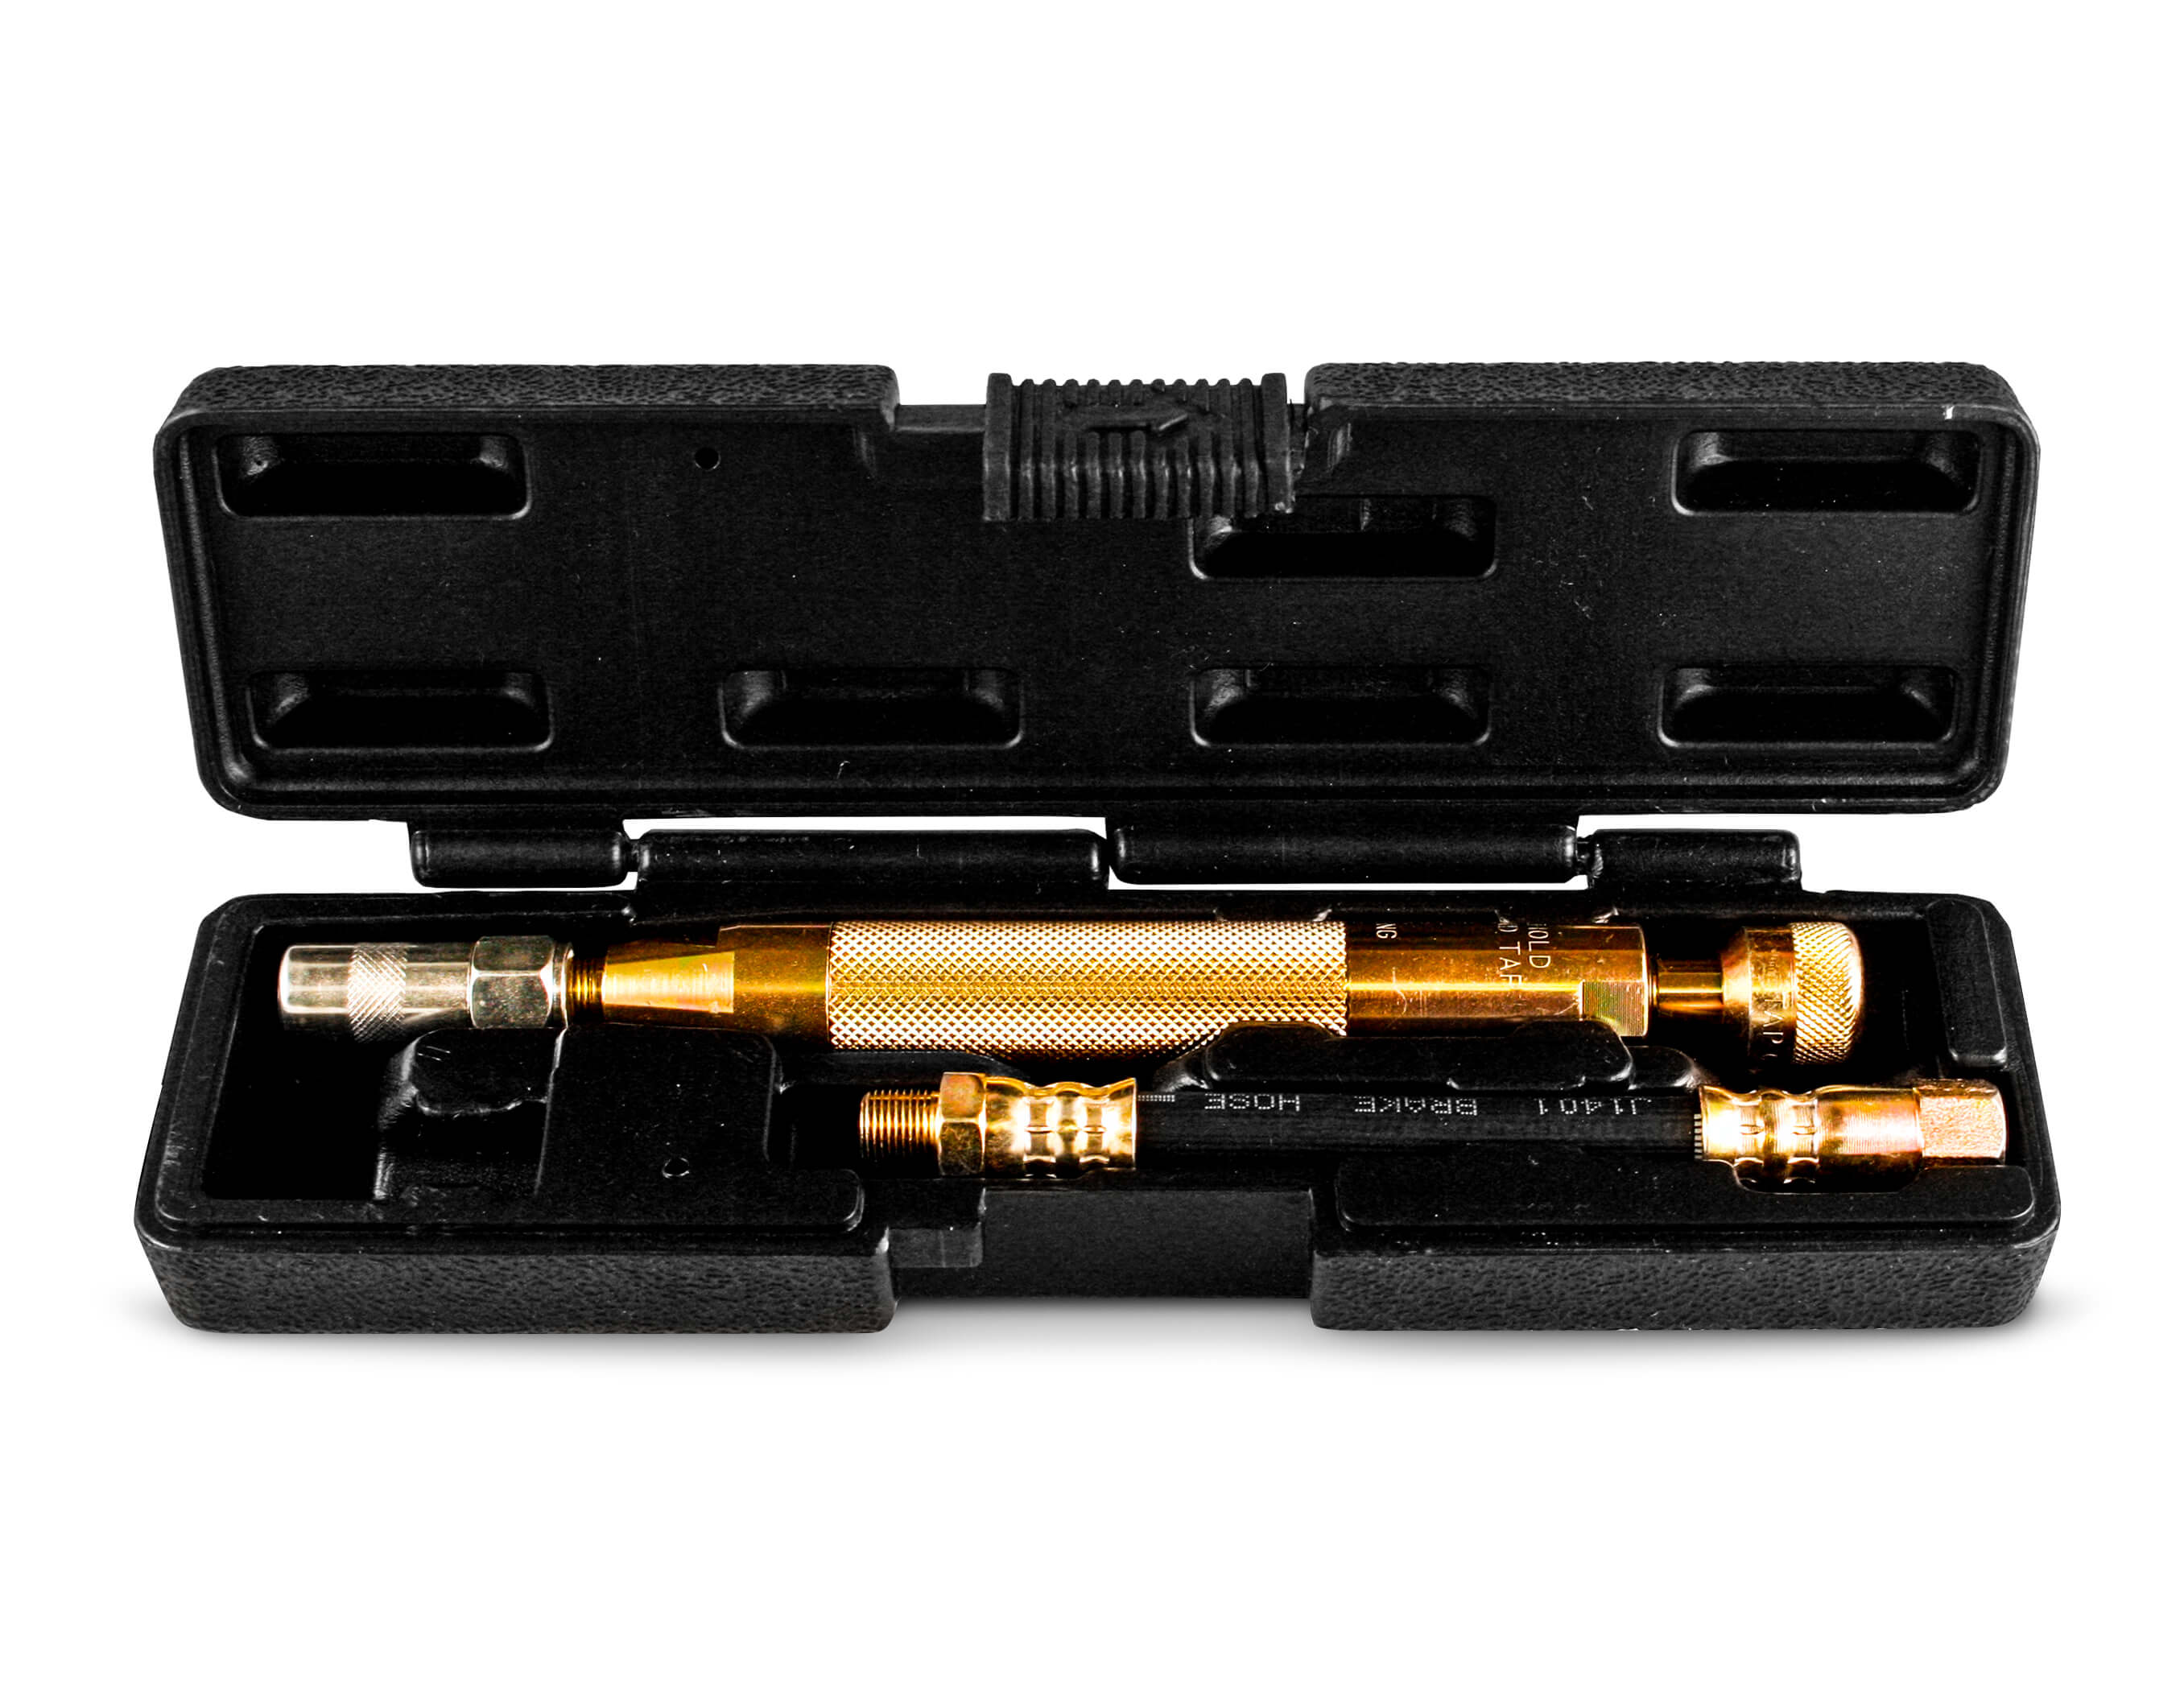
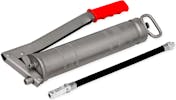
GREASE JOINT CLEANING TOOL
986.014
- UNSPSC 40141736
R637728026
R637728026
Delivery
In stock delivery from our warehouses.
Frees up the grease joints and fittings, enabling them to be greased again.
IN-STORE
(Live stock shown is only for our stores located in Ontario.)
3 pieces in stock at Vaughan, ON as of 5:49 PM. Directions. Call: (289) 474-5447
2 pieces in stock at Mississauga, ON as of 5:49 PM. Directions. Call: (289) 562-1077
- In-store pickup - FREE
- Curbside pickup - FREE
- Same-day local delivery
Product Details
| Attribute | Value |
|---|---|
| Number of Pieces | 2 |
| EAN | 4052713984937 |
Benefits & Advantage
The Grease Joint Cleaning Tool allows a clogged grease fitting or joint to take on fresh grease by injecting light penetrating oil into the grease joint via the grease fitting, breaking up and removing any dirt, rust or debris.
Instructions
| First remove the piston from the tool body and fill it with a non-aerosol penetrating oil, such as the Wurth Pneumatic Tool Oil (Art. No. 893.0505). Once the tool body has been filled, reinsert the piston, gently working it into the bore of the body. Be sure to clean the piston and O-ring before inserting. |
| When the piston is inserted into the tool body, air may get trapped inside. Any air left in the tool reduces the hydraulic pressure, causing the tool to be less effective. After filling the tool body with light, penetrating oil, put the piston back and turn the tool upside down to allow the air bubble to float to the top. Place a rag over the end of the tool and tap on the piston lightly with your hand until the air bubble is forced out. When bleeding, be sure to keep your face and eyes away from expelling air and fluid. If the piston bounces back when tapped, it has air in it. |
| Once the air has been bled from the tool, you are ready to unclog a stuck fitting or joint. Push the grease coupler over the grease fitting and lightly tap the piston head with a small hammer. It may take several taps, but the piston will eventually move down into the tool body. This indicates that the joint is opening. Once the piston has pushed all the oil out, remove the tool and grease the joint. |
| Comes with a flexible extension for hard to reach areas. Some applications may require the use of the Flexible Extension to make a bend. To install the flex hose, remove the female grease coupler from the tool. Using sealant tape, install the flex hose into the tool body, then install the grease coupler on the end of the hose. This gives you flexibility when trying to access tight places. |
Customers Also Viewed
Review(s)
2019-10-01
Good product that I use quite often in shop, seems like quality will see
after extended use.


